HOW TO MAKE A DOG BED
We all love our dogs and want them to be comfortable, but dog beds and kennels can get pretty pricey. Luckily, DIY dog beds are fun and easy to make. Using recycled materials you can save money, and create something that your dog loves and you love making. There’s a variety of common, easily accessible materials that can be used to make a dog bed that looks great and makes a fantastic comfortable home for your furry best friend. Today, Andrew Murray will show you how to create a charming rustic dog bed with the help of the adorable Lenny.
The tools you you’ll need for the job:
- PXDDK-200 drill driver kit 2.0Ah battery
- PXIDS-300`Impact Driver
- PXCSS-500 Circular Saw
- PXJSS-600 Jigsaw
- PXMSS-700 Detail Sander
- PXWBS-200 Workshop Blower
- PXRSS-400 Reciprocating Saw
- Hammer (NCPES-200 NWS Pliers
- NCPS-205 NWS Pliers
- Wrecking Bar
- SGP-300 Spray Gun
HOW TO MAKE A PALLET DOG BED.
- Find your pallet
- Decide the size of the bed you want to make. Handy tip: If you know what cushion you are going to use for the bed you can design the size of the bed around this.
- Use a reciprocating saw to cut the base of the bed you’ve just measured. Note: if you’re going for a specific finish you can sand the rough edges from your base before you add your frame.
- Deconstruct and de-nail the remaining parts of the pallet that will not be used for the base. This will be the raw materials for the walls of your pallet bed.
- Decide on how tall you want your pallet bed to be. Measure, and cut to the desired length with a circular saw.
- Screw your posts into the base of your bed. Handy tip: When using recycled wood we recommend you make pilot holes before driving your screws. This will help you avoid splitting or cracking stressed wood.
- Measure the back and sides of your bed and cut the wall boards to size. Note: Pallet wood often comes with varying widths of board, this can be used to create an unique look for your dog bed. Handy tip: If you’d like to sand the boards for a slicker finish it will be easier to do before they’re secured.
- Screw the wall boards for the back and sides into the posts of your dog bed.
- Finish off with a facia board which could also become a drawer for storage.
- If you’re looking for a particular colour or design for your dog bed paint accordingly using a spray gun.
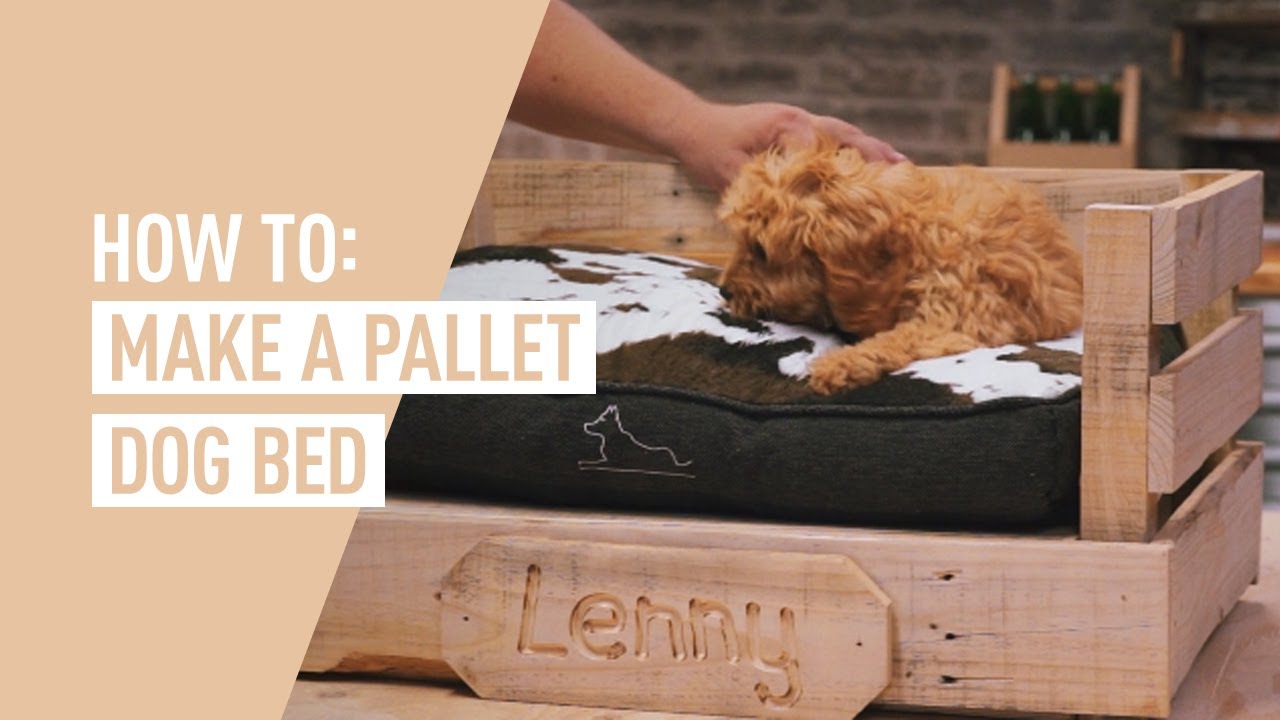
- Now your dog bed is done, and you’re ready to add your cushion and get the verdict from your pooch.
- Some easy additions that can be added to your bed include: a) A personalised sign for your dog. b) A drawer for storage (great for keeping treats & toys in.