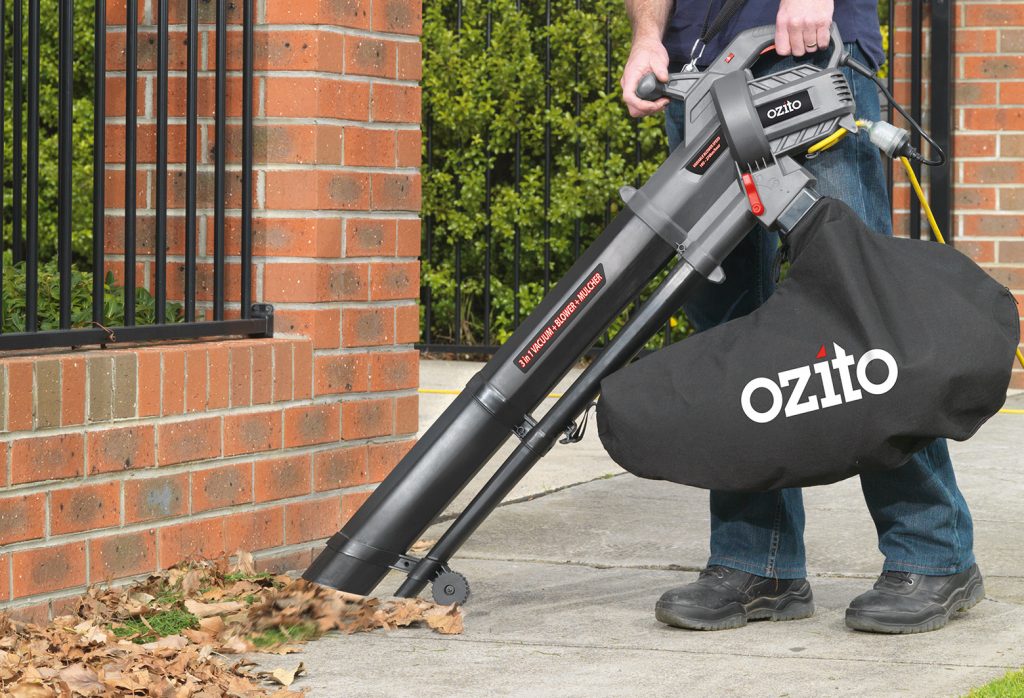
EASY WAY TO ASSEMBLE YOUR BLOWER VAC-MULCHER!

A Blower Vac Mulcher is an easy and efficient way to tidy your outside area minus the hard work!
A leaf blower vacuum is a practical option that speeds up cleaning your outdoor area, allowing you to relax and enjoy your yard more.
We put together a step-by-step guide to help you assemble your Blower Vac-Mulcher in no time.
Assembly
Note: Before performing any of the following steps, make sure your tool is disconnected from the power supply!
Fitting the Secondary Handle
1. Insert the secondary handle at the top of the blower so that it locks into place.
Assembling the Tubes
1. Insert the small lower tube into the matching upper tube and push together until they are connected firmly.

2. Next, stick the large lower tube into the matching upper tube and push them together until they are connected firmly.
3. Make sure to secure the lower section with the supplied 45mm long assembly screw.
4. Slide the nose guide wheels over the lower tube and secure it with the supplied 20mm long screw.
5. Now you can slide the assembled tubes into the motor housing.
6. Finally, make sure to secure the tubes with the supplied 55mm long screw.

Attaching the Collection Bag
1. Attach the plastic connector on the collection bag to the outlet in the housing.
2. Attach the clip on the collection bag to the hook underneath the upper tube.

Removing the Collection Bag
1. Simultaneously squeeze the two locating hooks on the plastic connector.
2. Pull the collection bag away from the tools housing.

Fitting the Shoulder Strap
1. Undo the clip on the strap by pressing both sides inward.
2. Now place the strap through the shoulder strap hook on the secondary handle.
3. Then close the clip on the strap to form a loop.
Note: To use the shoulder strap simply slide the strap over your shoulder so that some of the weight of the blower vac can be taken by your shoulder.
We hope this guide makes your assembly a breeze. If you’d like to have a look at the rest of our range, click here!

